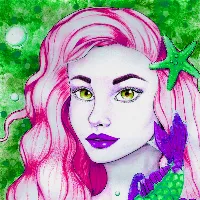
The use of "selective color" is an editing technique that can be quite striking if done correctly, and if not overused. The concept is simple: one or two elements of a color photograph can be isolated with color retention while the remainder of the photograph is desaturated of color. One of my favorite "selective color" edits, which I performed myself, is one of a red dress, seen through the window of a shop in Kingsport, TN. The shop sells formal and wedding attire, and always has delightful dresses on display in the front window to charm passers-by on the sidewalk.
"The Red Dress" photo & edit by me
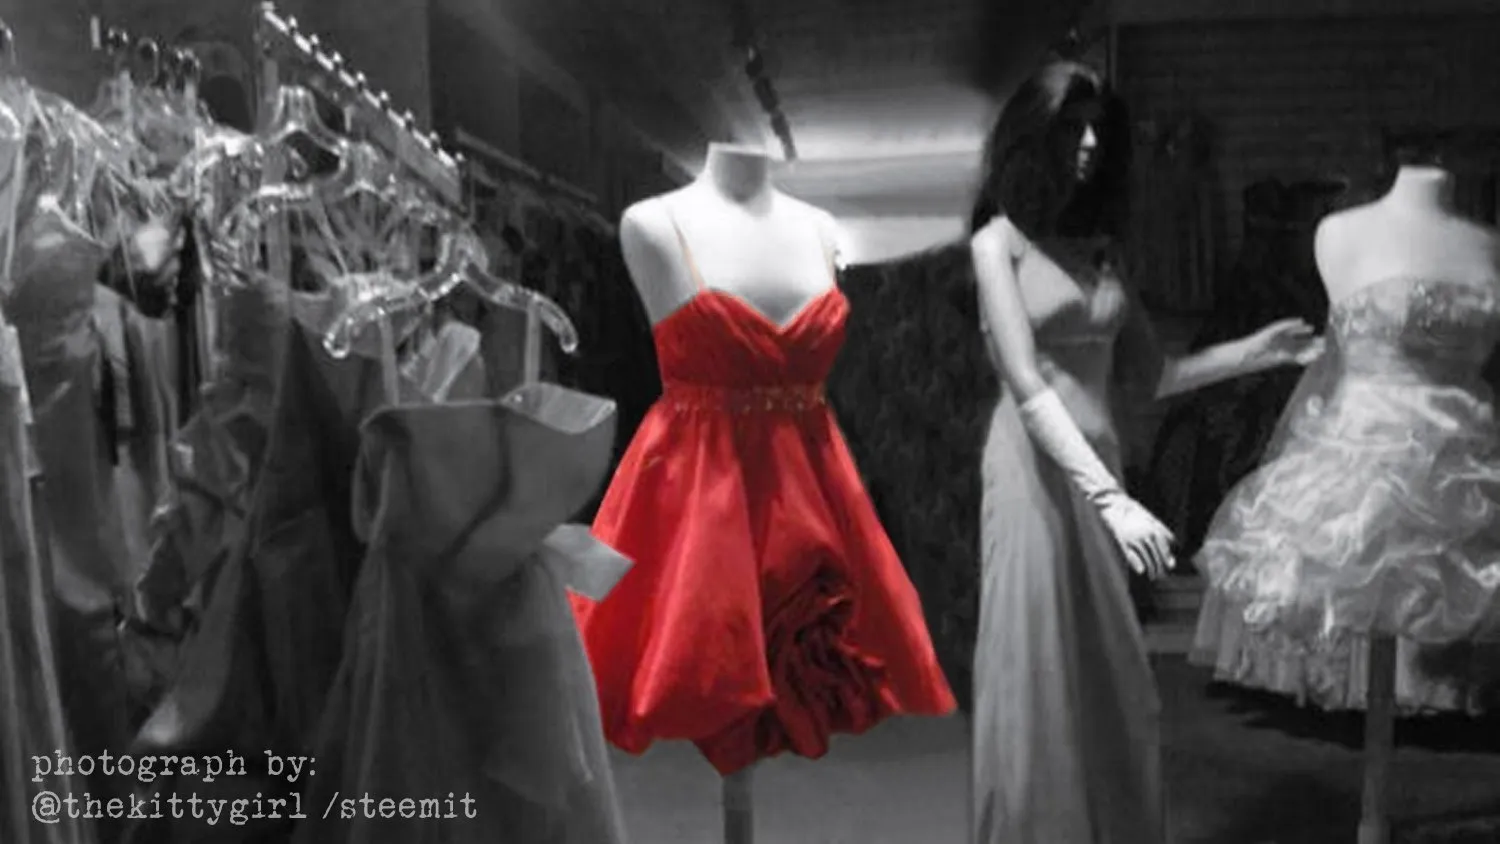
My original photograph was taken looking into the window of the shop from outside. Glass, of course, is a reflective surface so it is difficult — *if not impossible!* — to prevent unwanted reflections of some sort from appearing in the shot. Since this photo was taken at night, the reflections were more minimal compared to what might have been present during a daytime photo.
My preferred editing software is PaintShopPro™. This software was originally written by JASC® and I've had it since the early 2000s. A friend had purchased it for approximately $100 (USD) when PhotoShop™ was selling for over $1000 (USD). After using PaintShopPro™ for a week or two, she decided to discontinue using it and asked if I wanted to try it. It was amazing and I became like a kid at Christmas, so she gave the CDROM and documentation to me as a gift. Since then, JASC® was aquired by Corel®, and they continue developing and marketing the software
today.
This is the original shot of the storefront of Annie's Room at 219 E. Center St, Kingsport, TN (before the business relocated to N. Eastman Road):
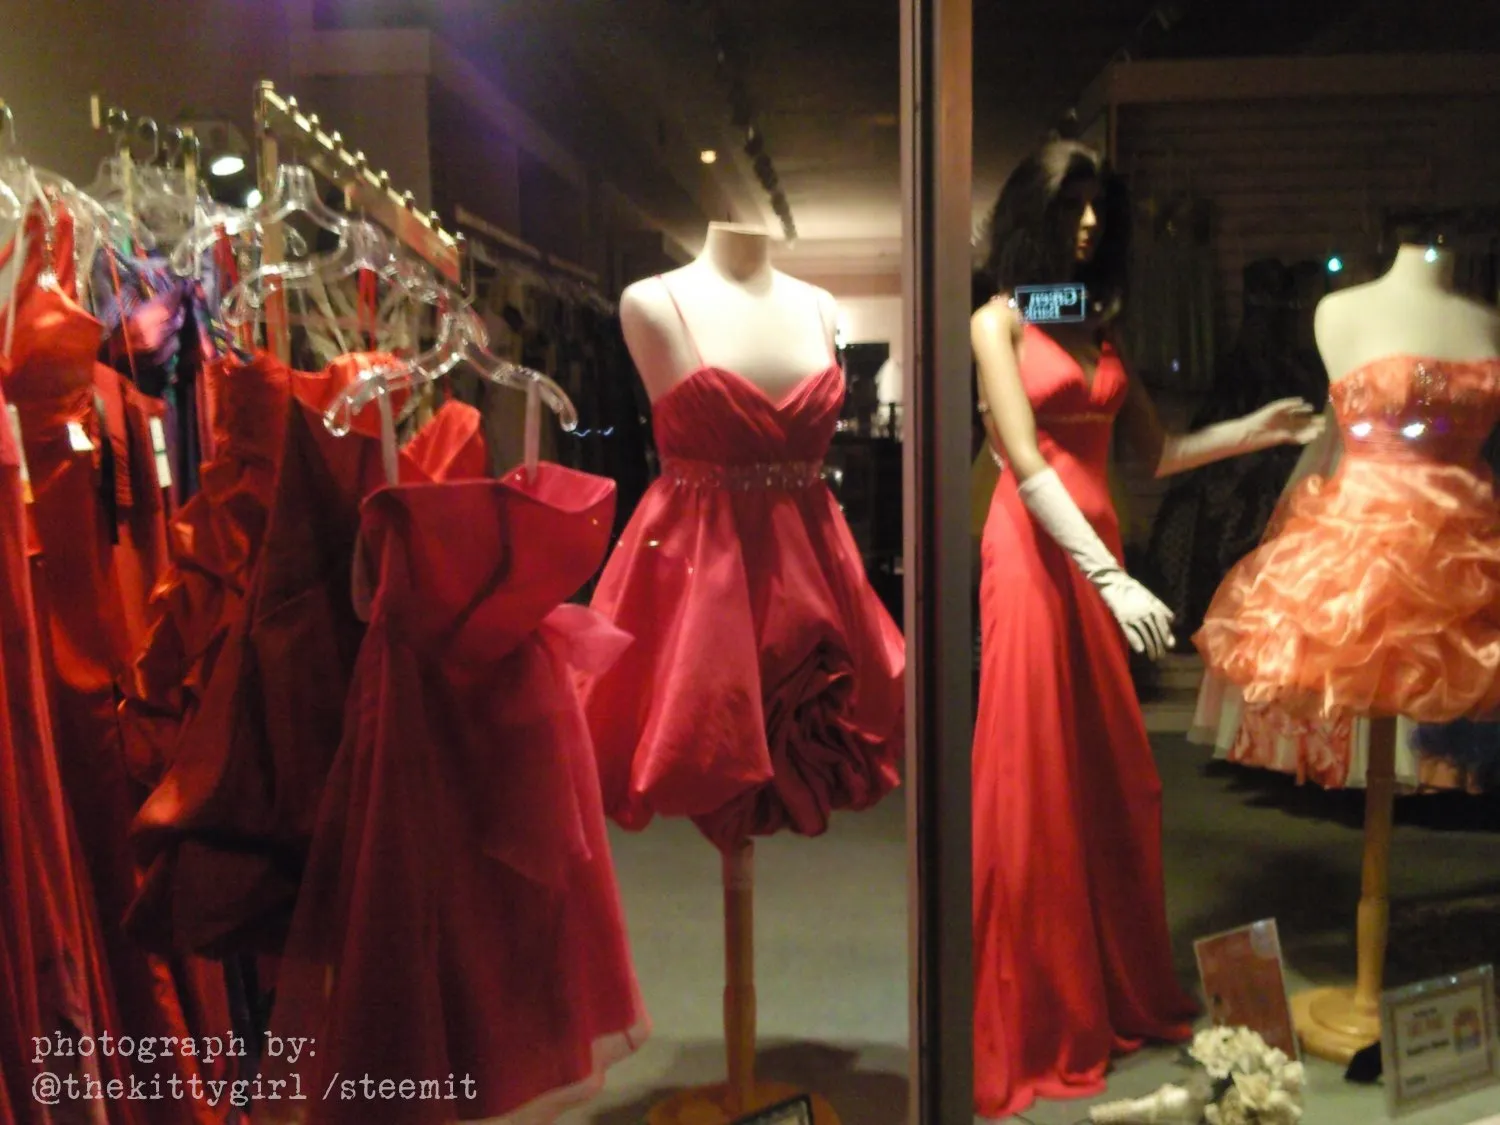
photo by me
The first task was to identify all of the unwanted "artifacts" in the shot. There were several reflections in the glass from businesses and street lamps. Some of them are indicated by the green arrows in the following image, but there are quite a few that I did not mark. The storefront, itself, consisted of two large panes of glass with a supporting framework in the middle, indicated by the white arrow, below.
PaintShopPro™ has many tools and features for transforming photos, as does other image-editing software. For the purposes of selective color, the tools I frequently use are the clone brush, push brush, smudge brush, selection tools, saturation tool, edge dilate, layers feature, and opacity controls.
Removing the artifacts is a painstaking process, no doubt. I easily spent a whole hour removing the reflections, bit by bit, because there were so many of them. Then, the process of removing the supporting beam between the two windows took another 30 minutes to an hour.
The next step in the process could have been executed a couple of different ways:
- by selecting the red dress and desaturating the remainder of the photo, or
- by selecting the red dress, isolating it on a separate layer, and desaturating the original layer
I chose the latter method because fewer steps were required. The original photo became Layer №1. I carefully moved the selection tool around the perimeter of the red dress until it was completely trapped within the selection. Then, I moved the selection to Layer №2, carefully positioned above the original layer. Next, the original photo was desaturated (i.e., drained of color to a grayscale image). Lastly, I tweaked the contrast of the layered image to soften the overall appearance of the shot.
😊
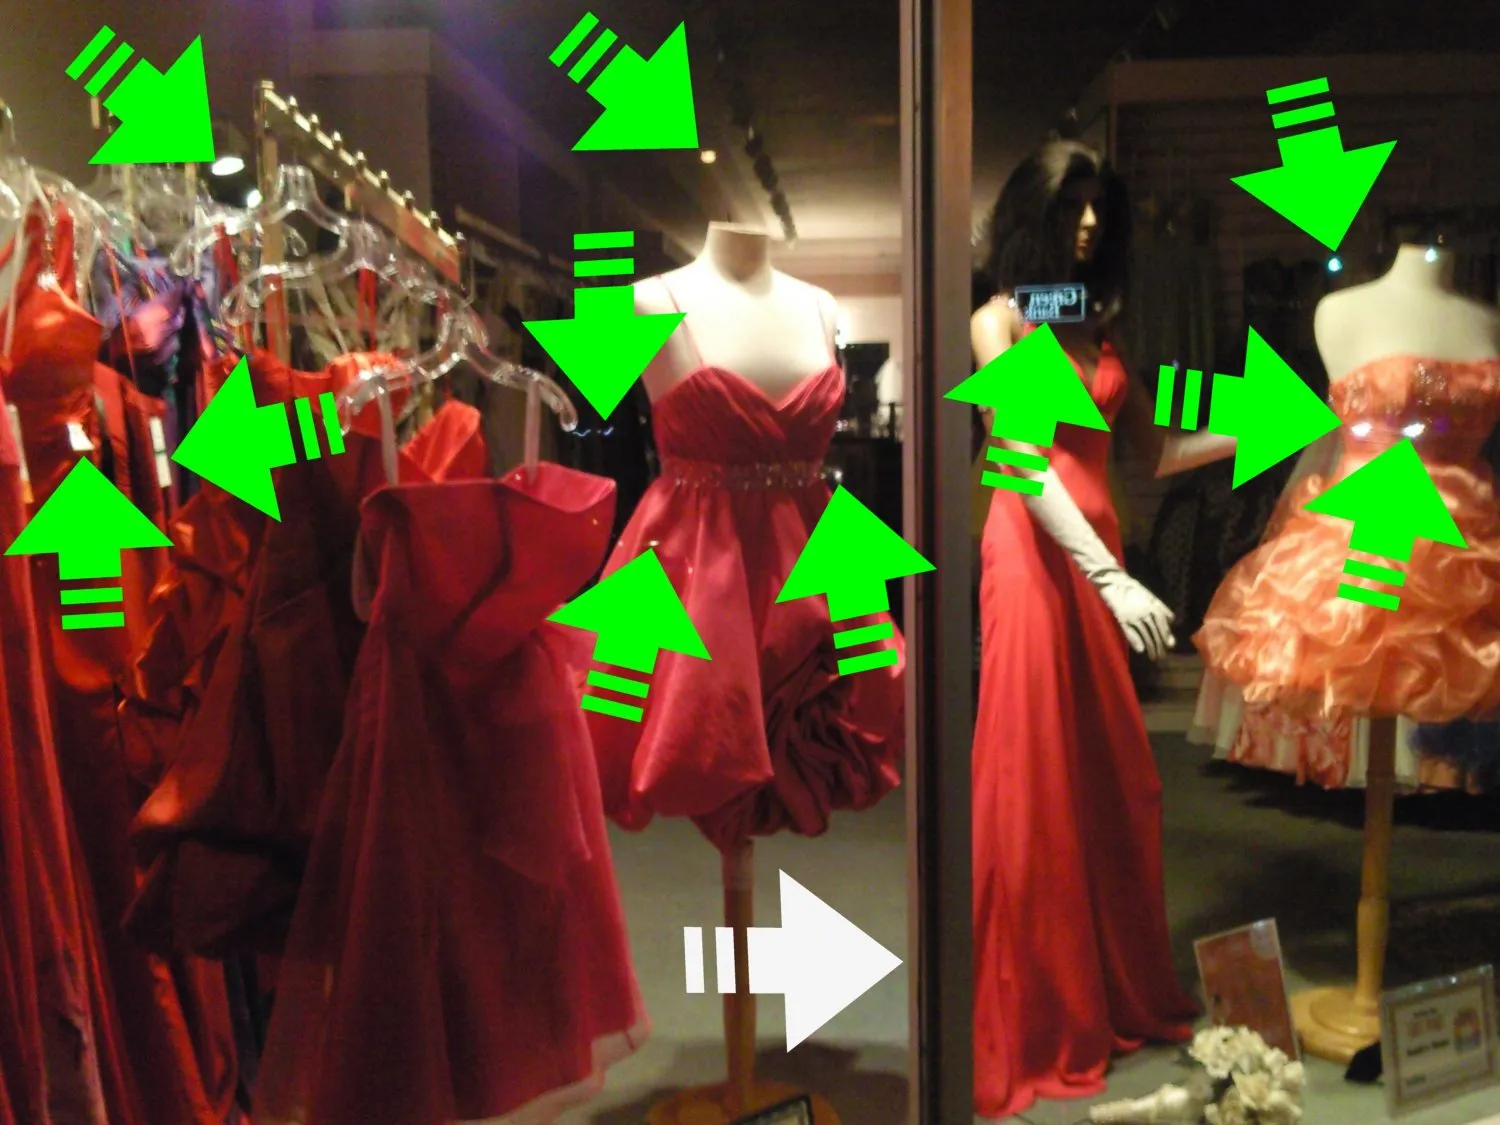
Voilà, a red dress in a "selective color" environment! All total, I probably had between two and three hours on the editing, but I am thrilled with the results of my hard work!
"The Red Dress" photo & edit by me
!steemitworldmap 36.546891 lat -82.5588319 long Kingsport, TN D3SCR


Return from "The Red Dress" (a Selective Color Edit) to 𝕜𝕚𝕥𝕥𝕪's Web3 Blog